Alien Formations / Field Guide

Alien Formations

Galaga Wars is easier to read when you watch the whole field before chasing a single target. This guide focuses on incoming rows, diving attackers, open lanes and the pressure created when enemies reposition.

A tempting target can wait when the movement pattern around it is becoming the larger threat. Learn to spot where space is opening, where it is closing, and where your ship can still correct cleanly.

View Galaga Wars on Google Play
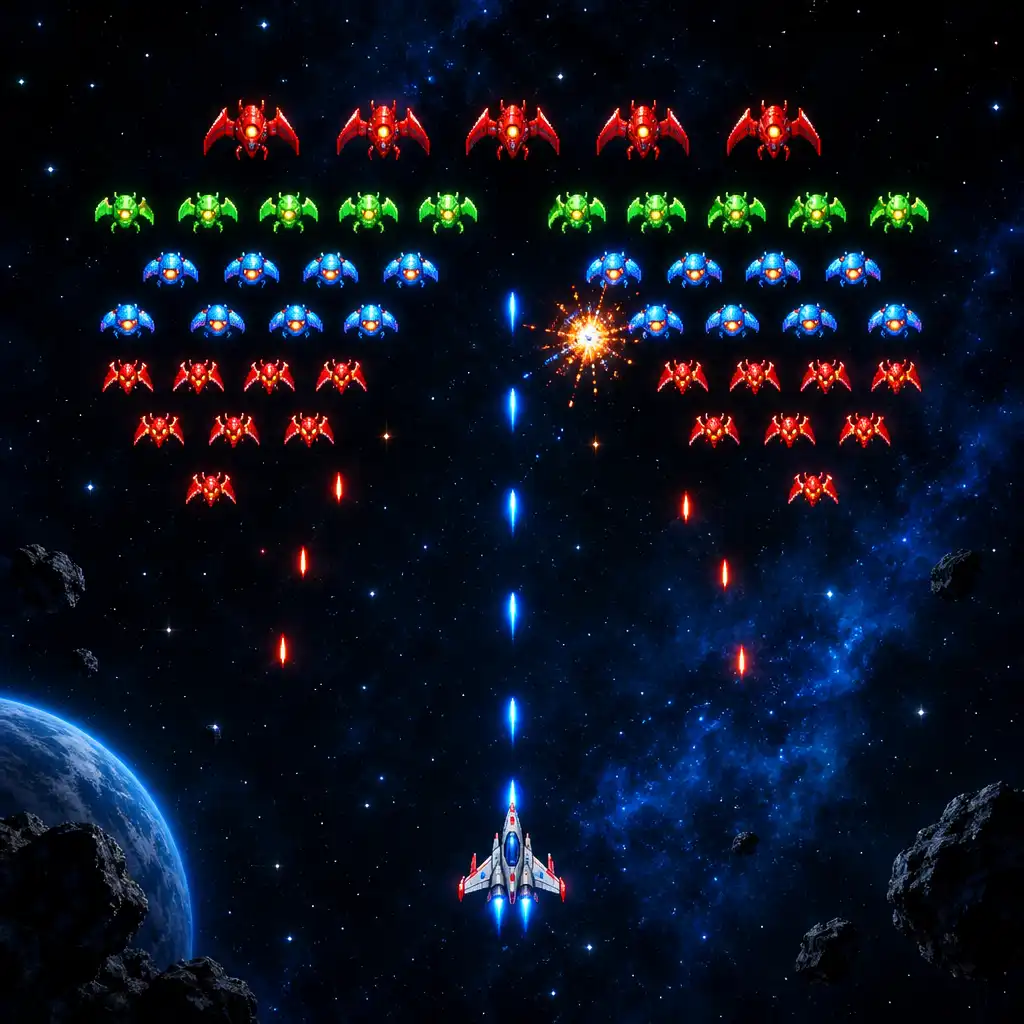
Galaga Wars-style arcade battlefield with several colourful alien groups and a player ship below
Watch the lanes between enemies as carefully as the nearest target, and notice which direction the incoming movement is taking across the field.

Read the field

How a formation tells you what is next

Static position is only part of the picture. The useful clue is the shape a group is making as it arrives, settles, and begins to change.

Arrival is information

An entering group gives you a brief chance to see where it is settling and how its route narrows or widens the playfield. Take that read before overcommitting to a target. The outer edges and centre gap can matter as much as the closest enemy, because they show where a later correction may still fit.
A tidy row can change quickly

A formation that looks orderly can become demanding when individual enemies break away or the group reshuffles. Treat it as a moving shape rather than a fixed line. Instead of assuming a script, notice the direction of change and leave yourself enough room to answer it.

Pro tip

Keep one escape route visible

Preserve a lane through the field rather than drifting into the first opening you see without checking what may close behind you. Small corrective movement is easier to reverse than a long, panicked sweep. When possible, avoid settling hard against an edge with no room to adjust.

Pattern map

Formation map: entry, settle, dive

These simplified diagrams turn a busy screen into three recognisable shapes. They are not an exact game interface; use them to practise noticing space, direction and possible exits in live play.

Entry line

As enemies arrive, identify the zones they are likely to occupy before firing decisions take over. Notice their direction of travel and the open space beneath or beside the group. This is a reading moment, not a reason to stop playing; it is a quick check for room.

Settled field

When a group is relatively settled, choose a position with room to correct. Spacing between clusters matters more than perfect symmetry. Look for the next safe lateral adjustment, so the ship remains in an area that can absorb a change without forcing a rush.

Breakaway pressure

When part of the field leaves its place, a familiar layout can become a crossing-path problem. Move early enough to preserve room instead of waiting until the lane has closed. The useful habit is responding to the change you can see, not expecting a guaranteed sequence.

Crossing paths

Diving attackers and crossing paths

Watch the path, not the sprite

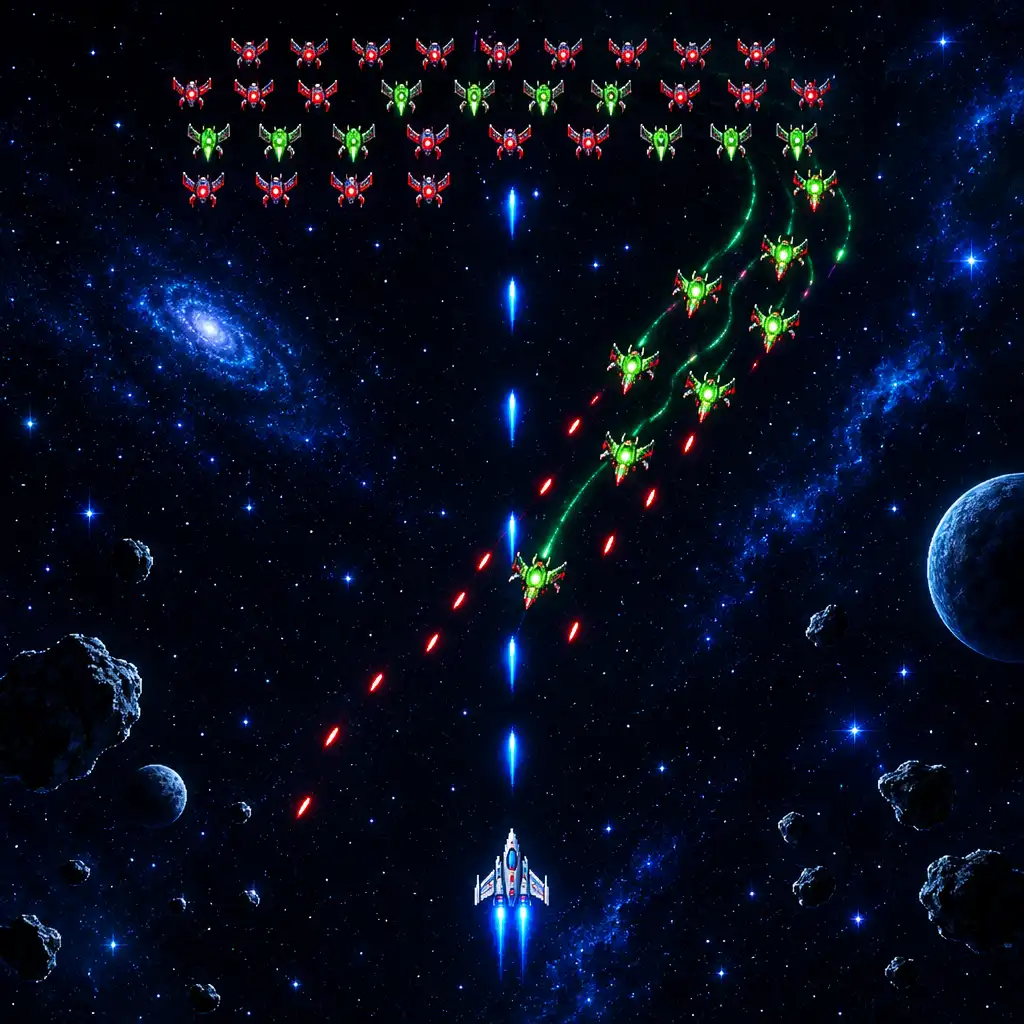
The danger in a diving attacker is often the route it creates across your current movement lane, not simply how close it appears. Glance ahead of the moving enemy and judge where paths could cross. A sudden full-screen sweep can carry your ship into another route that was already forming.

Galaga Wars-style space battle showing alien attackers on diagonal diving paths above a player ship
Read the diving route against the open space around the player ship, rather than treating one approaching attacker as the entire problem.

Use short corrections

Make small directional corrections to keep a recovery lane open when a dive changes the screen geometry. A measured correction is easier to reverse than a committed run to an edge, leaving you more options if another route appears.

Delay the chase when space is shrinking

When several paths converge, a target may be less valuable than keeping the ship in a controllable area. Do not chase into a closed lane just because it looked clear a moment ago. Return to offence after the field opens again.

Decision ladder

Target priority without tunnel vision

Priority01

Protect your next lane

Put survival space first when a formation is closing around the ship or crossing routes limit a clean move. Maintaining a lane can matter more than completing an immediate attack, because it keeps the next decision calm and recoverable.

Priority02

Address the threat changing the screen

Give attention to movement that changes the field rapidly, such as a breakaway or a converging route, rather than the safest stationary-looking target. This is contextual visual priority, not a fixed ranking of enemy types.

Priority03

Clean up from a stable position

Sustained firing becomes more useful after the ship has returned to an area with room to react. The clearest target window can appear after a safe reposition, not before it, so let stability create the next attack choice.

Space first, moving danger second, clear shots third.

Movement space

When the formation leaves you a lane

A usable route is more than an empty patch. It gives the ship enough width to correct, reverse, and stay clear if the formation changes again.

Look for width, not just a gap

A route needs room for a correction, not merely room for the ship at one instant. Judge whether the opening is widening, steady or closing, and keep a small buffer around the ship before calling it a useful lane.

Keep the edge as an option

Staying away from a hard edge when possible preserves more directions for the next adjustment. The centre is not always safest; the better location is the one offering the most recoverable space if the screen shifts.

Move before the lane becomes urgent

When an opening clearly begins to close, make an early controlled reposition. Do not commit to a route only because it was clear a moment ago. Early adjustment keeps the choice deliberate instead of turning it into a late scramble.

Pressure states

Pressure states: captured ship and crowded field

Pressure

Treat extra pressure as a spacing problem first

When the field becomes crowded or a high-value moment makes you feel compelled to chase, first recheck movement space. Captured-ship pressure is a recognisable Galaga-series-style concern, but the immediate reading task remains the same in Galaga Wars: do not let urgency override lane awareness or force the ship into an already cramped route.

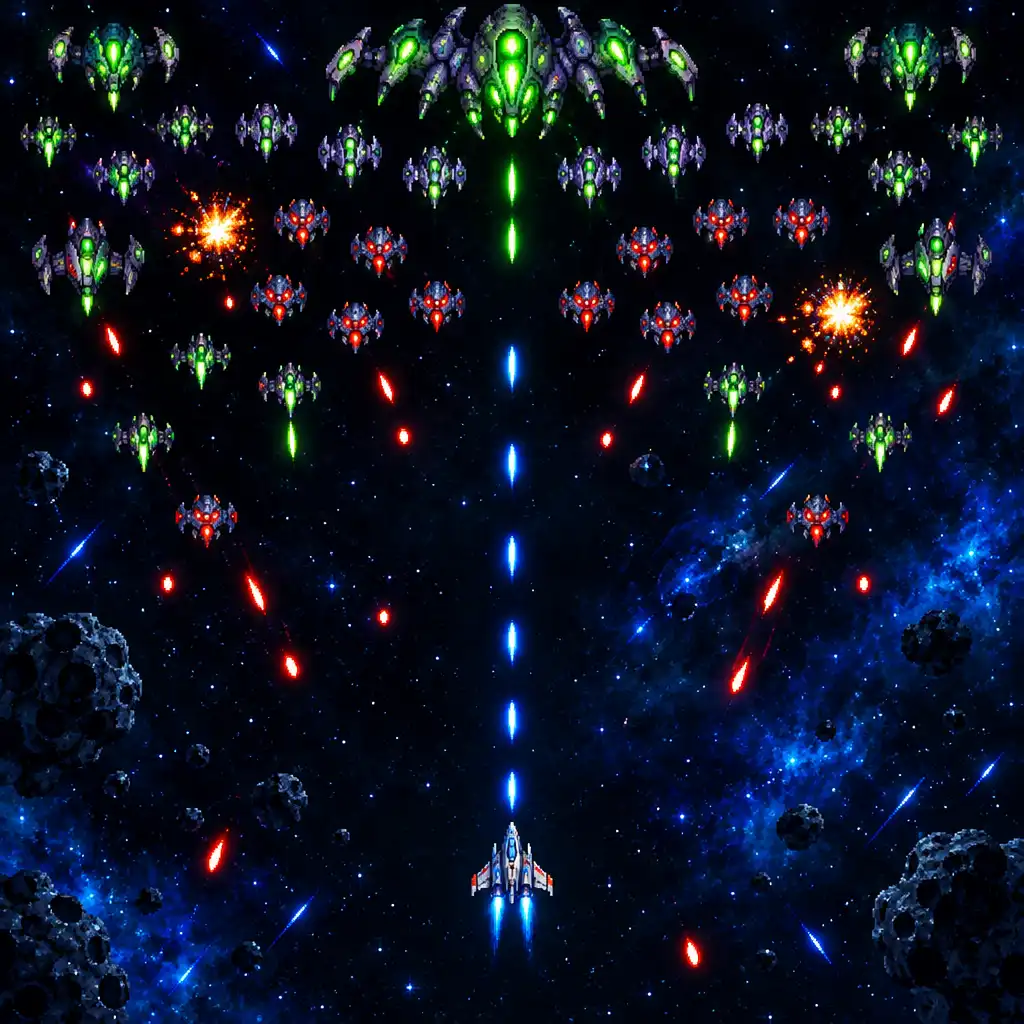
Portrait Galaga Wars-style gameplay image with dense alien activity and a clear movement zone near the player ship
During dense activity, preserve a controlled movement zone before treating the busiest part of the field as an attack invitation.

Practice routine

Practise loop for the next run

01

Run one: watch the arrivals

Use an early play session to notice where groups enter and which parts of the screen remain open after they settle. Keep playing normally; the aim is simply to identify one recurring movement shape rather than analyse every detail.

02

Run two: protect one lane

Choose one recoverable movement lane and notice what closes it, rather than trying to clear every target immediately. Use short corrections and avoid becoming pinned to an edge when a less cramped route is available.

03

Run three: notice the breakaway

Track the first formation shift that changes your route, then make one deliberate adjustment. Success here is recognising the change earlier, not reaching a particular score or wave number.

04

Run four: review one decision

Remember one chase, lane choice or correction that helped or cramped your movement, then carry that observation into the next run. A small, specific review is more useful than trying to judge the whole session at once.

Next formation

Keep the field readable

In Galaga Wars, track routes, preserve a lane, and let space guide target choices when formations change. A calm read of the field gives each move a clearer purpose.

View Galaga Wars on Google Play