Run cycle
Your run at a glance
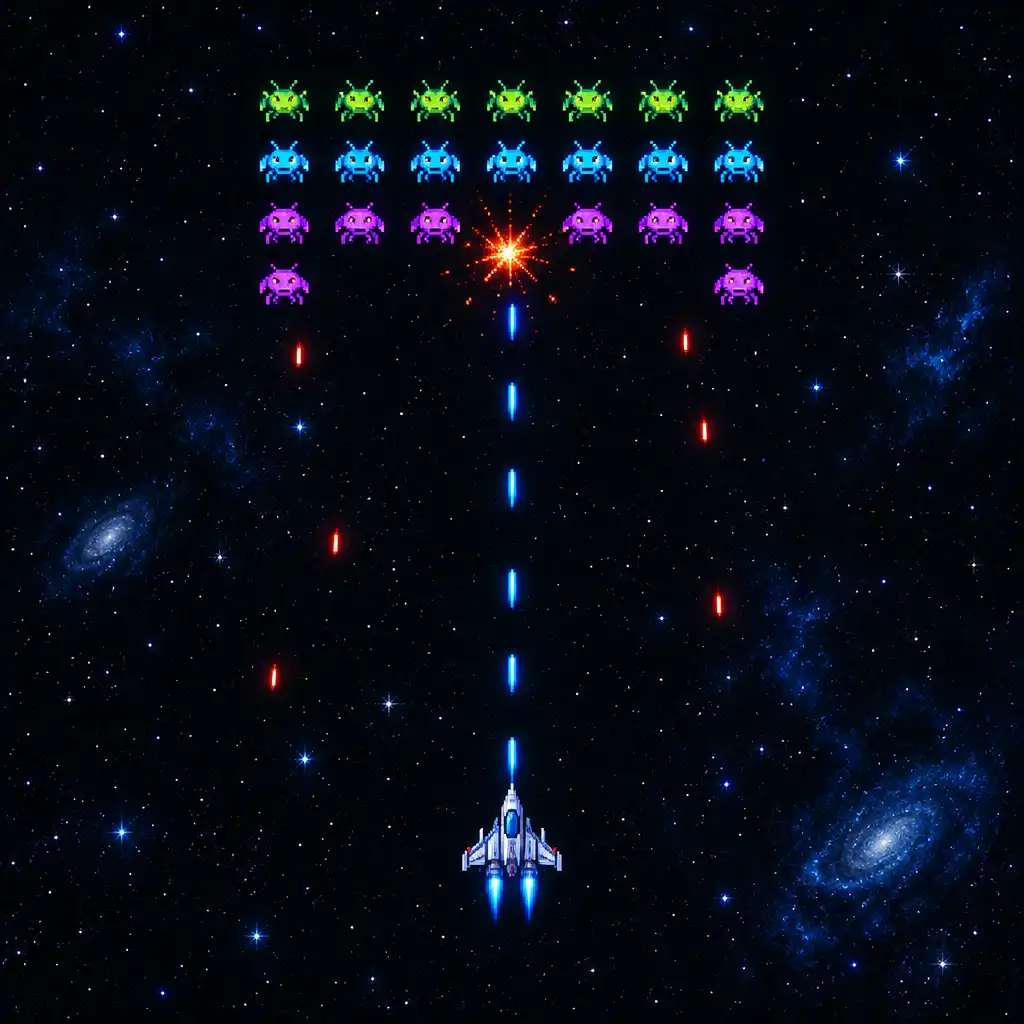
A typical run asks you to read the screen, make room for the ship and then reassess as the next pressure arrives. Think of every cleared space as temporary, not as a permanent safe zone.
01
Enter a hostile screen
Start by reading the incoming arrangement and finding the clearest movement space. Enemy positions matter, but projectile paths matter too. The first useful decision is often where the ship can travel safely next, rather than which target looks easiest to chase.
02
Clear pressure while staying mobile
Defeating enemies and surviving happen together. A lane that looks open can change when formations move or fire, especially as waves become more demanding. Use short, intentional adjustments so the ship does not drift into the crowded space you will need to escape.
03
Collect momentum
Weapons, pickups and upgrades can change how confidently you face later pressure, but they are most useful when they support a safe decision. For a closer look at those choices, see the ships, weapons and upgrades breakdown.
Flight discipline
Move with purpose
Treat empty space as a resource
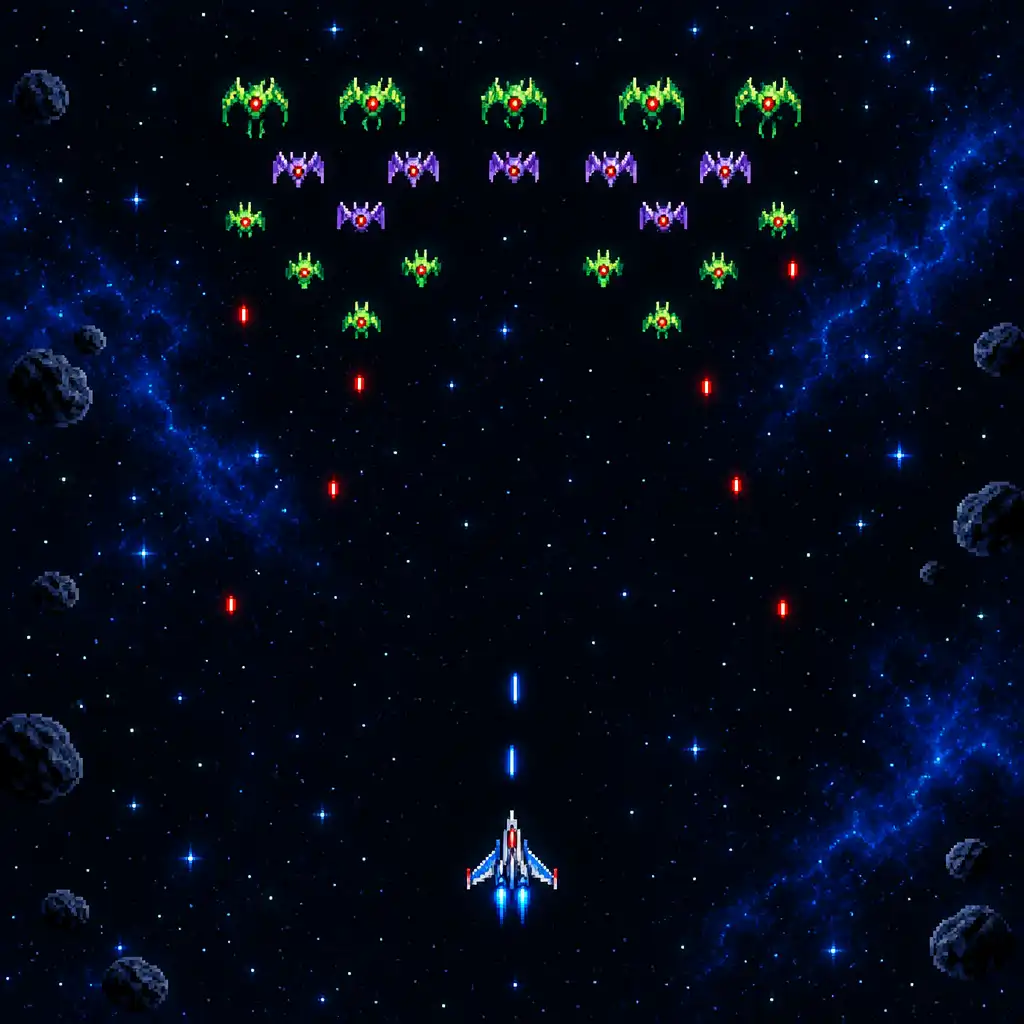
Safe room is temporary, so protect it. Moving into a clear area helps only when that route leaves an exit for the next pattern. Scan ahead of the ship instead of reacting only to the closest threat. With practice, that forward-looking habit makes a busy screen easier to read because you are choosing a route before it becomes urgent.
Move
Make short corrections
When a lane closes or a formation shifts, deliberate repositioning is often clearer than a large panicked sweep. Smaller corrections let you keep reading active threats while creating enough room to decide where the ship should go next.
Read
Read the formation, not one enemy
A single alien matters less than the group’s shape, direction and open gaps. Look for where the formation is concentrating danger, then read the Alien Formations guide for a more detailed pattern guide.
Caution
Leave room to recover
A survival-minded route preserves time to adjust after a surprise. Avoid committing the ship to an edge or crowded lane when another path leaves room to recover and keep observing what changes around you.
Threat order
The threat order on a busy screen
This is not a fixed rulebook. It is a practical attention order for moments when several choices compete and you need a simple way to decide what matters first.
1
Immediate collision or projectile lanes
Put immediate survival first. Notice the threat that removes the ship’s available space right now; an urgent lane may require movement before you pursue a target. The best opening is not useful if it closes before you can use it.
2
Formation movement closing escape routes
A changing group pattern can matter more than an isolated target because it reshapes the safe area around the ship. Look for the next gap before it is needed, and connect that choice to the formation-reading habit you are building.
3
Useful pickups and weapon opportunities
A helpful advantage is worth collecting only when its route does not create greater immediate risk. Treat it as a choice, not an automatic priority, then see the upgrade breakdown when you want more context.
4
Remaining cleanup targets
Finishing enemies is valuable, but a clear shot should not override awareness of active threats. This habit becomes more important as wave pressure grows; explore waves and boss battles for the next layer of challenge.
Field reading
Why formations change the fight
Groups create patterns, not just targets
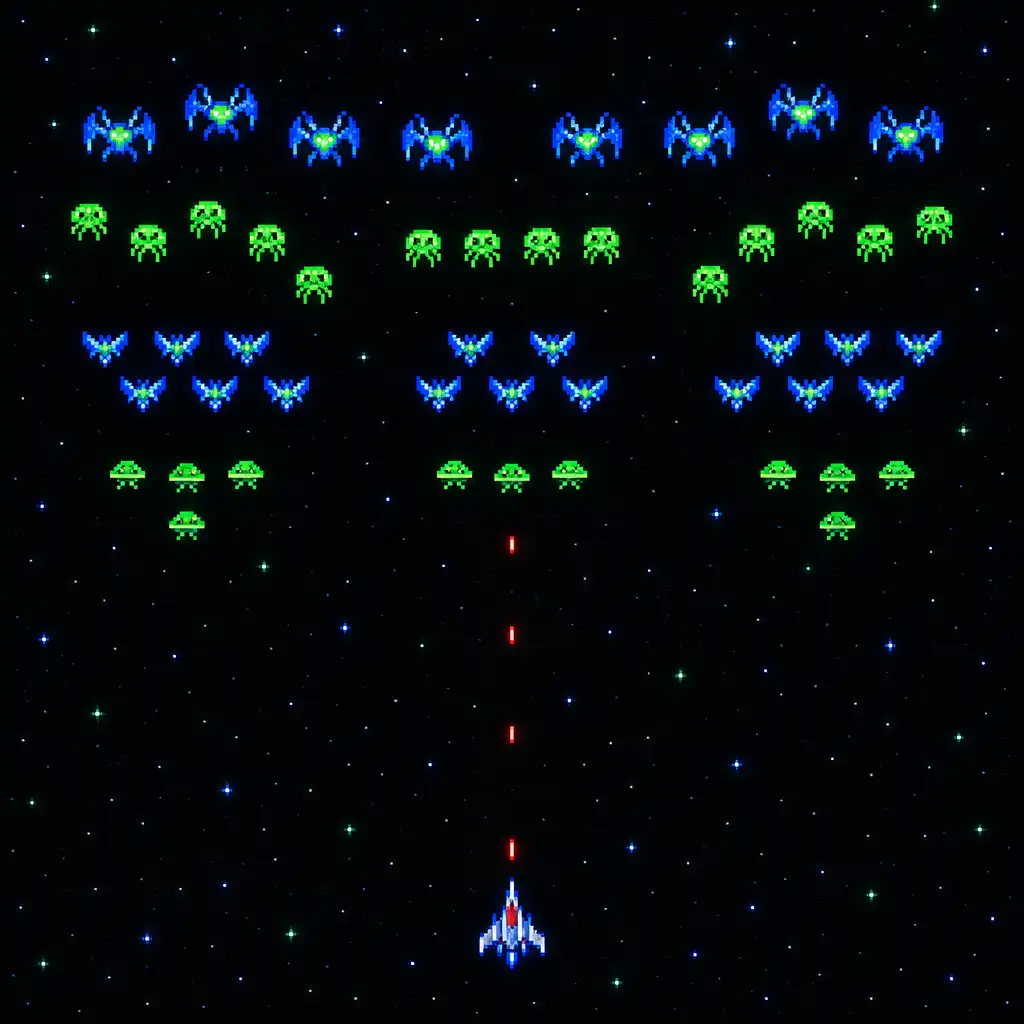
Formations matter because their collective arrangement directs attention, limits lanes and influences where the ship can reposition safely. Rather than chasing one enemy at a time, read how the group shapes the whole screen. That approach is accessible even if you are new to arcade shooters: look for the space the group leaves open, then watch how that space changes.
Scan
Watch for gaps and converging pressure
Spot open lanes while noticing when several movements or attacks make those gaps less reliable. As waves grow harder, a route can look clear for only a moment, so observation is more useful than rushing into the first opening.
Next shape
Use the next formation as your cue
The best moment to move or pursue an opening often comes from anticipating the group’s next shape rather than reacting after space disappears. Explore Alien Formations for more detailed recognition help.
Status board
Weapons and upgrades: choose the safe advantage
Positive status
An advantage changes your options
Weapon abilities and upgrades can change how you approach pressure, but their value depends on the space and threats currently on screen. They work best alongside formation reading and movement, not instead of them. Before committing to an opportunity, ask whether it helps create a safer route or whether it pulls the ship into a worse one.
Pressure
Use power to create breathing room
An offensive advantage can be useful when it reduces immediate pressure or supports a safer path through the screen. Keep the decision conditional: first read the lane, then decide whether the opportunity improves it.
Caution
Do not chase every opportunity
Collecting or pursuing an advantage helps only when the route to it does not put the ship in a worse lane. Survival remains the first principle when the screen is already asking for attention.
Guide route
Build understanding before committing
Once the movement loop feels familiar, read Ships, Weapons and Upgrades for a dedicated explanation of those tactical options.
Escalation
Waves and boss pressure
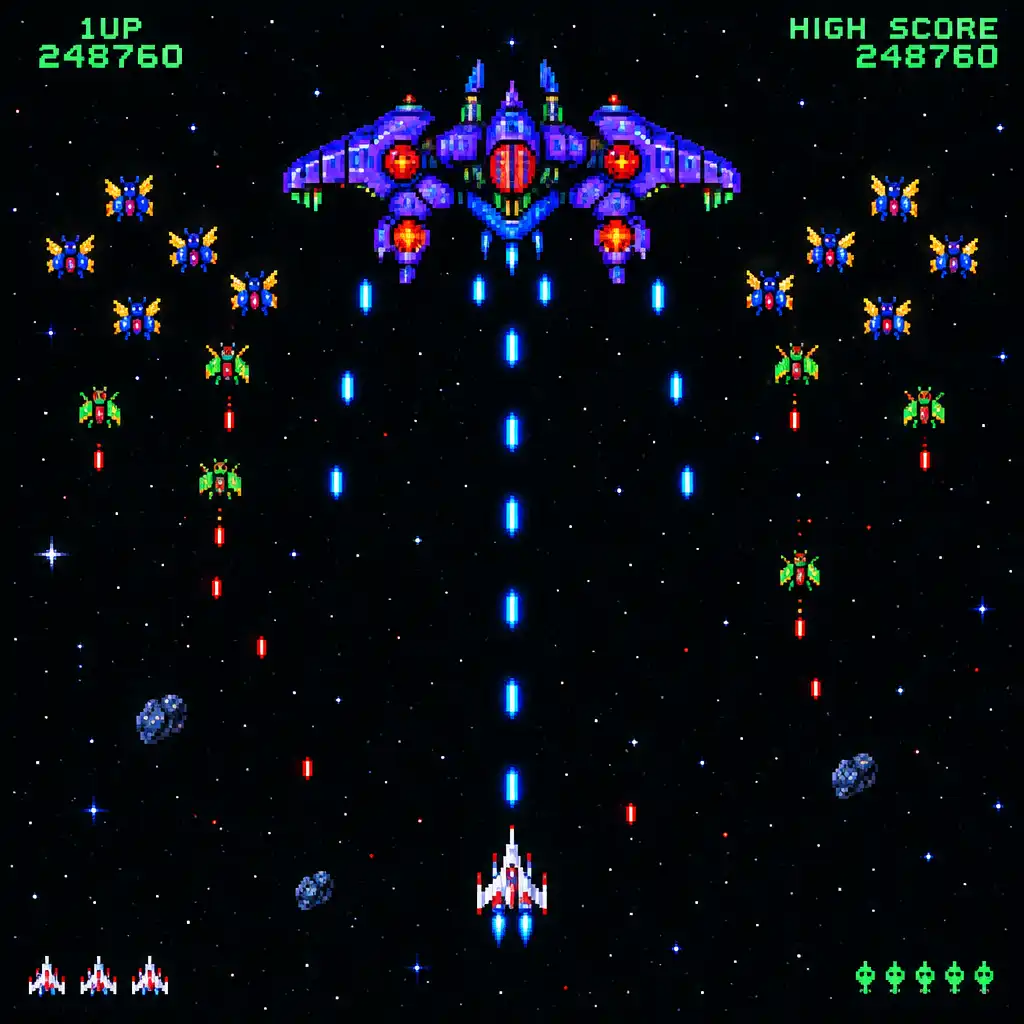
Expect the screen to ask more of you
Waves become increasingly difficult, so habits that work early need to become more deliberate as the screen applies more pressure. Lane reading, threat order and preserving recovery space all become more useful when there is less time to make a comfortable choice. The aim is not perfection; it is to keep recognising what deserves attention first.
Boss
Boss battles reward observation
Boss encounters are a cue to keep reading movement and danger rather than treating the encounter as a simple damage race. Patience and pattern recognition are broadly useful beginner behaviours when a high-pressure screen asks you to make careful choices.
Take the longer breakdown when you need it
Once the basic loop makes sense, read the Waves and Boss Battles guide for a fuller explanation of that escalating pressure.
Player 1 plan
First-session plan
01
Learn the ship’s safe space
Start by watching how much room surrounds the ship and where open lanes appear as enemies arrive. Make this an observation goal, not a performance target: movement is the foundation for the choices that follow.
02
Survive before chasing every target
Prioritise avoiding immediate danger over forcing a shot or route through a crowded screen. This connects directly to the threat order above and keeps the focus on preserving a useful next move.
03
Notice what changes the screen
Observe how formations, weapons, pickups and upgrades alter the choices available in the moment. Do not expect a particular item; stay curious about how any new advantage changes the space around the ship.
04
Practise reading the next gap
Look for the route that remains available after the current movement, not only the open area visible now. This small anticipation habit connects directly to formation observation and safer recovery space.
05
Use specialist guides when a question repeats
For focused help, start with Beginner Tips, then use Alien Formations, Ships, Weapons and Upgrades, or Waves and Boss Battles when you want a targeted answer.
Next wave
Ready for your next wave?
Take the basics into a run: read formations, preserve space, prioritise immediate threats and use weapons or upgrades as part of a wider survival decision. Those same habits support you as waves become more demanding and boss encounters add pressure. Playing is the next way to put the guide into practice.
View Galaga Wars on Google PlayNeed a simpler starting point? Read the beginner tips before you play.